Overview
The Facebook Pixel is a useful tool for your website that enables you to measure, optimize and build audiences for your ad campaigns. Using the Facebook Pixel, you can track the actions people take on your website across devices to run Facebook advertising campaigns more effectively.
The Facebook Pixel add-on integrates the service with your store, giving you the ability to:
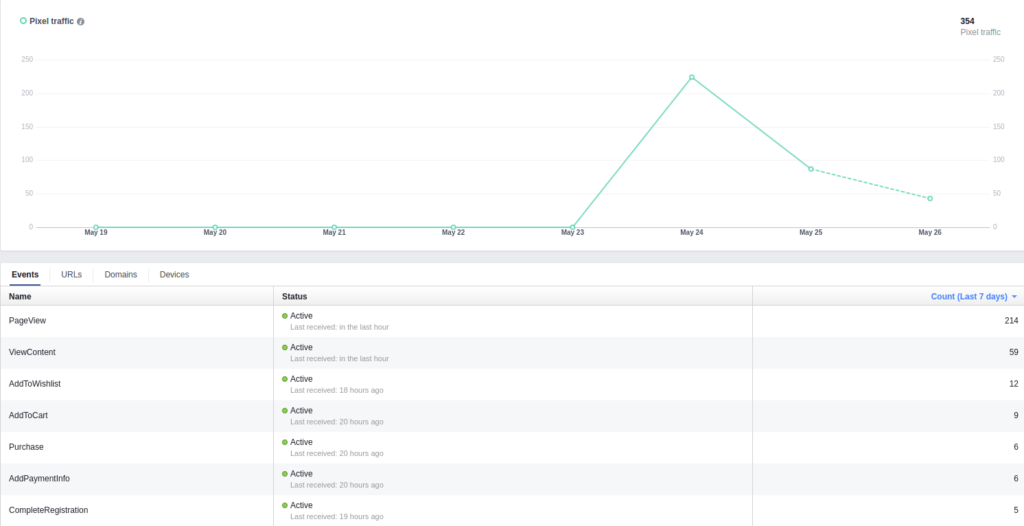
- view statistics of your store (page views, adding to cart, purchases, adding to wish list, one click buy, request a call, etc.)
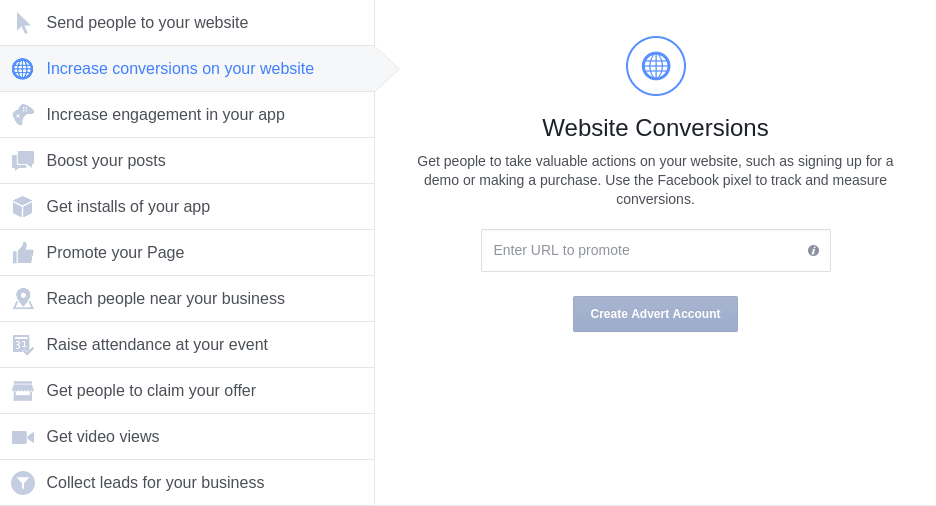
- create ad campaigns for Facebook and Instagram
- measure cross-device conversions (see how your customers are moving between devices before they convert)

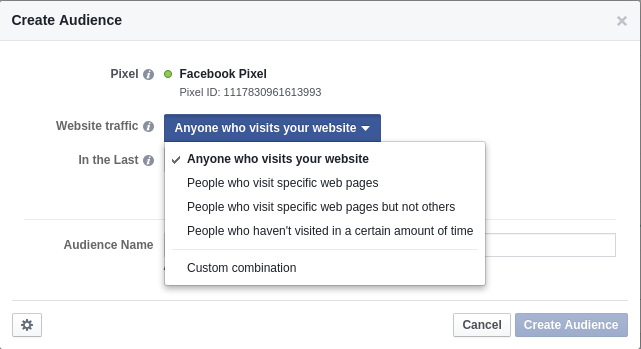
- create Custom Audiences for people who take specific actions on your website, like visited a product page, added to cart or purchased a product.
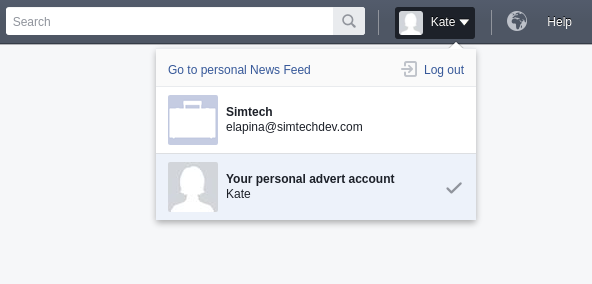
- use personal advert account as well as Business Manager account
As the Facebook Pixel is a piece of JavaScript code that you should insert into your website’s pages, it requires technical skills or involving a web developers to implement this for you. With our add-on, you don’t have to worry about that. All you need to do is to install the add-on, set it up and it will insert the necessary code into your website for you.
Additionally, the The Facebook Pixel add-on supports the Basic theme as well as the Responsive theme.
To learn more about the Facebook Pixel, please visit Facebook help .
You may also want to check out this Facebook Pixel tutorial (just bear in mind that you do not need to insert the code into the website, our add-on will do it for you).
Compatibility
The add-on is compatible with CS-Cart and Multi-Vendor 4.1 and above, but only versions 4.11.x, 4.12.x and 4.13.x are supported.
Support
This add-on is developed and published by Simtech Development Ltd., a CS-Cart developer. You are guaranteed a quality add-on supported by the future versions. If you need help, please contact us via our help desk system.
Demo
Check out the Facebook Pixel add-on in our demo store.
Every half an hour the demo store is reset to the default state.
Managing in the admin panel
Installing the add-on
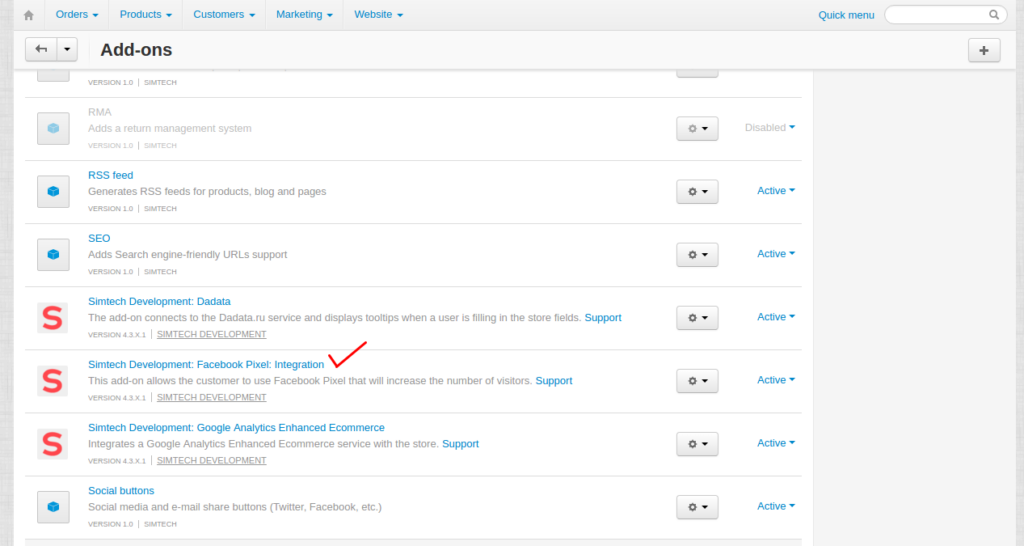
Install the Facebook Pixel add-on on the add-ons list page (Add-ons → Manage add-ons). Click the + button in the top right corner, select an archive and click Upload & install. You can now find the installed add-on in the list of installed add-ons, just make sure it is set to Active.
Available settings
CS-Cart with one storefront
Here are available settings of the Facebook Pixel add-on.
General
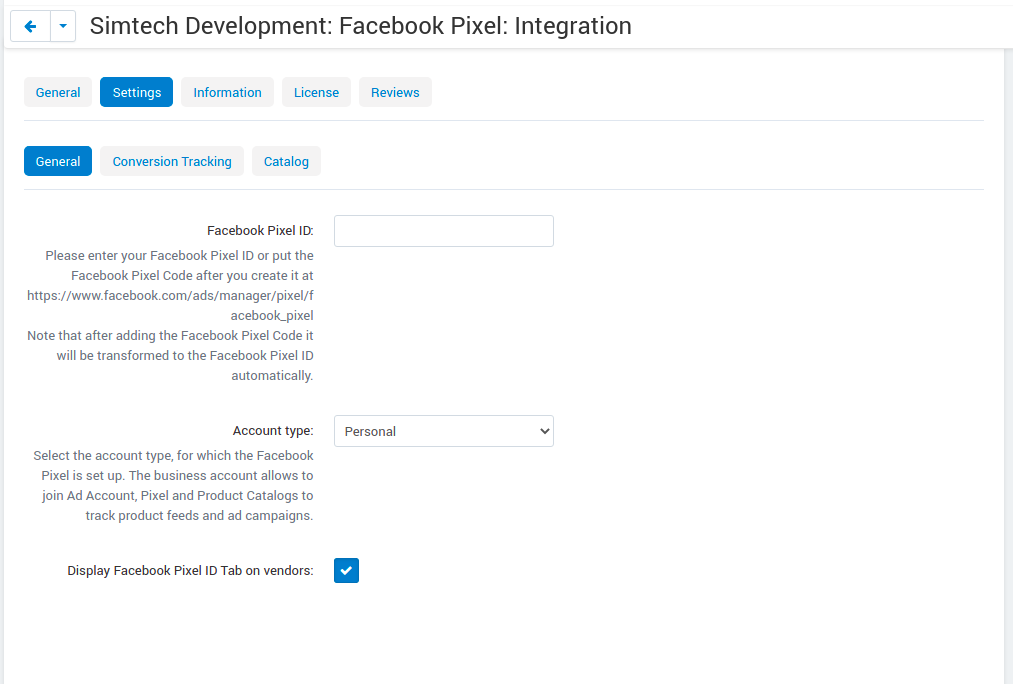
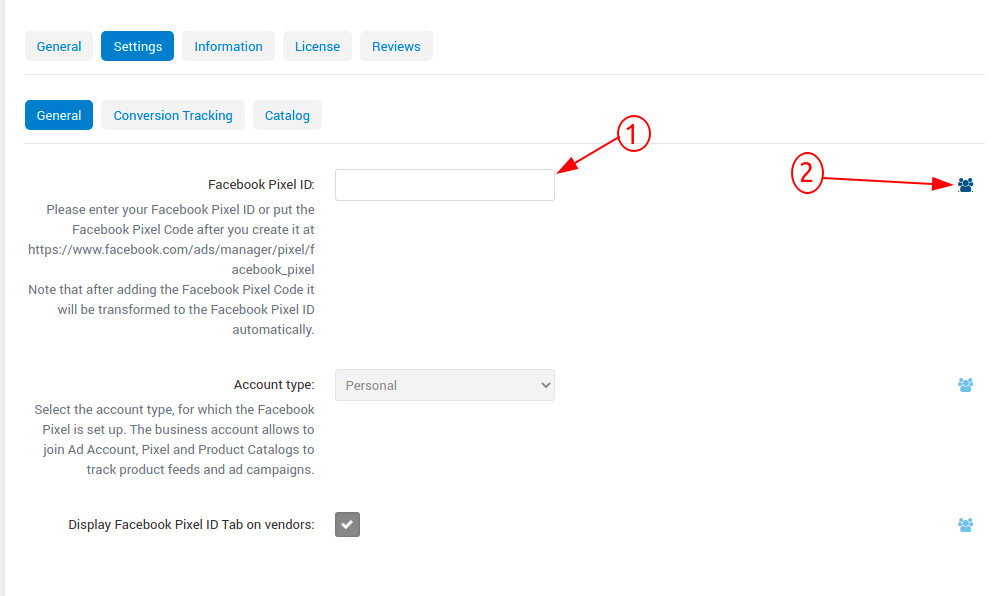
Facebook Pixel ID—Enter your Pixel ID that you should get after creating an account at Facebook Pixel.
Account type: Personal or Business—Select an account type, for which the Facebook Pixel is set up. The business account allows to join Ad Account, Pixel and Product Catalogs to track product feeds and ad campaigns.
Display Facebook Pixel ID Tab on vendors—If enabled, Facebook Pixel ID tab will be available for vendors.
Track Conversion
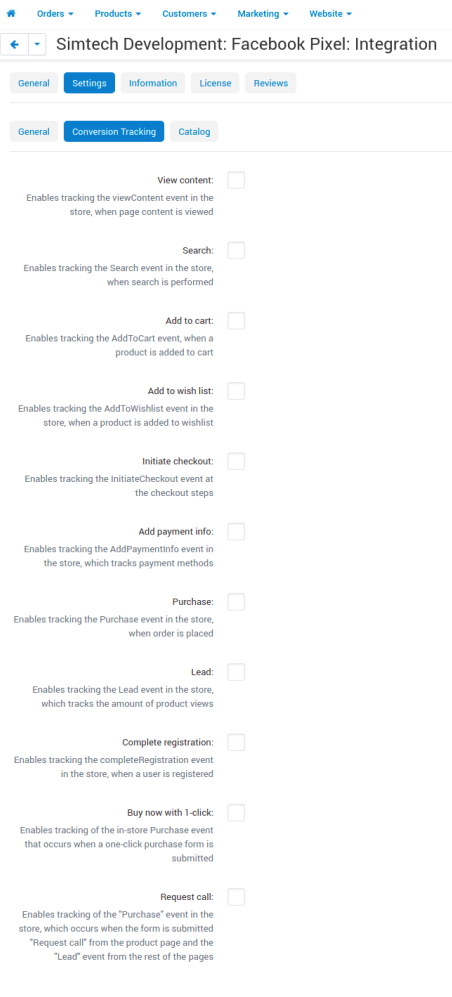
Select the checkboxes of the events if you want to track them:
View content—Enables tracking the viewContent event in the store, when page content is viewed
Search—Enables tracking the Search event in the store, when search is performed
Add to cart—Enables tracking the AddToCart event, when a product is added to cart
Add to wish list—Enables tracking the AddToWishlist event in the store, when a product is added to wishlist
Initiate checkout—Enables tracking the InitiateCheckout event at the checkout steps
Add payment info—Enables tracking the AddPaymentInfo event in the store, which tracks payment methods
Purchase—Enables tracking the Purchase event in the store, when order is placed
Lead—Enables tracking the Lead event in the store, which tracks the amount of product views
Complete registration—Enables tracking the completeRegistration event in the store, when a user is registered
Buy now with 1-click—Enables tracking of the in-store Purchase event that occurs when a one-click purchase form is submitted
Request call—Enables tracking of the “Purchase” event in the store, which occurs when the form is submitted “Request call” from the product page and the “Lead” event from the rest of the pages
Catalog
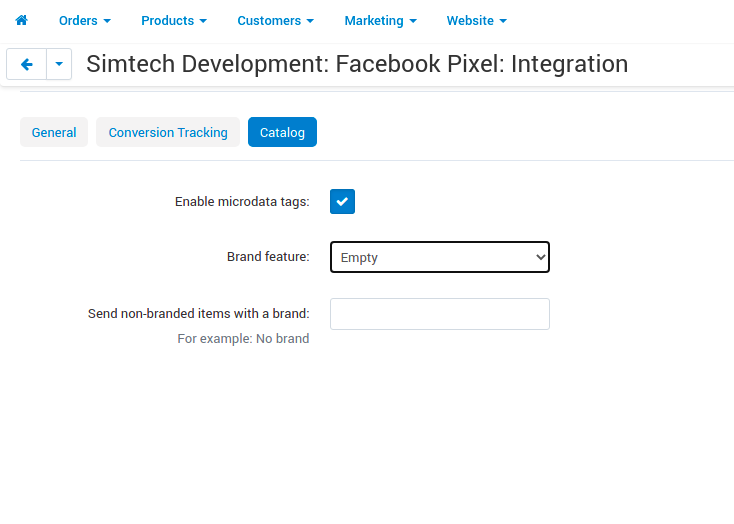
Enable microdata tags—Enables transferring of the product data to the Facebook Catalog
Brand feature—Select the Brand Feature
Product data to be sent to Facebook catalog:
- Product name
- Description
- Brand
- Image
- Price
- Price Currency
- Product link
- Product in stock
Click Save.
CS-Cart with multiple storefronts
If you are using CS-Cart with multiple stores, you can apply the same pixel identifier to all the storefronts, different pixel identifier for each storefront or disable the Facebook Pixel for some of the storefronts.
To apply the same Facebook Pixel identifier for all the storefronts, please choose all stores, go to Add-ons – Manage add-ons – Facebook Pixel, click the blue icon and insert the pixel code.
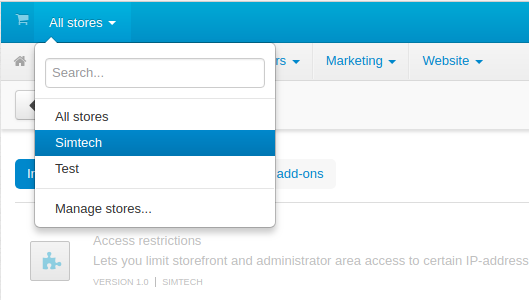
To apply different Facebook Pixel identifiers for the storefronts, please choose the storefront you would like to add the pixel to as shown below:
Then go to Add-ons > Manage add-ons > Facebook pixel, and insert the Facebook pixel code.
Please note that only one pixel is available for one Facebook Pixel account.
See the explanation of the rest of the settings in the section above.
Inserting a hook for versions 4.2.x.
If you store uses version 4.2.x, you need to do some adjustments to make the add-on work correctly. To do this, please follow these steps:
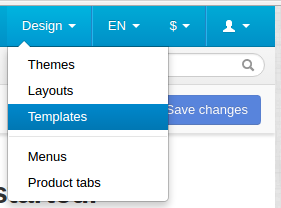
- In the admin panel, go to Design – Templates.
- Open templates – index.tpl.
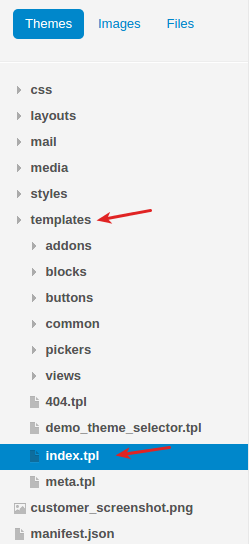
- Right before the </head> tag insert this hook:
{hook name="index:head_scripts"}{/hook}
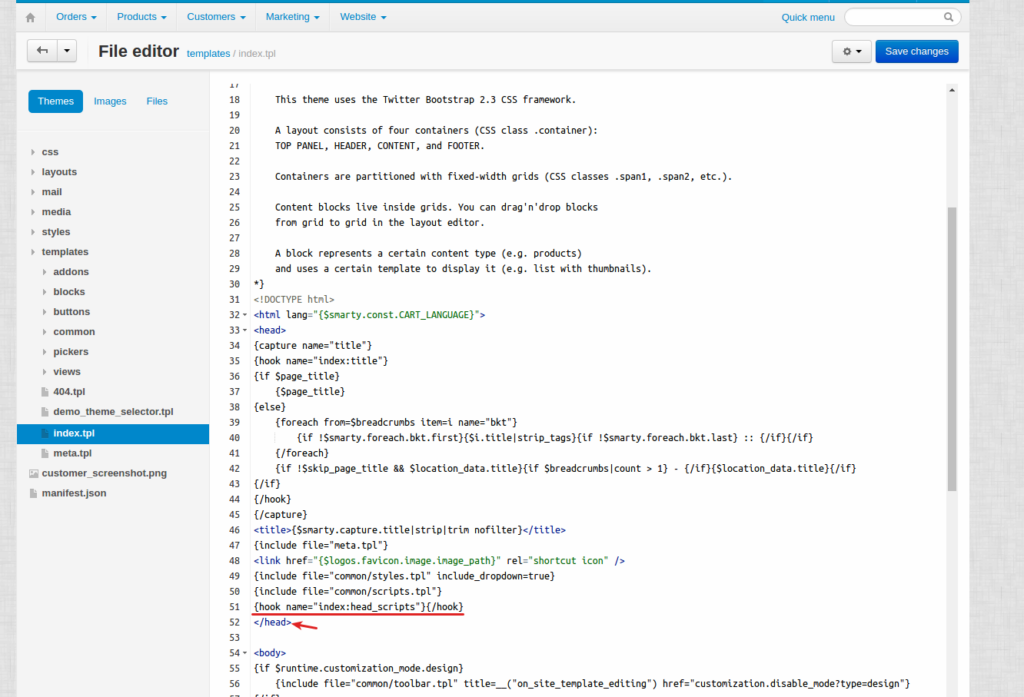
- Click Save changes.
Personal advert account
Creating a Facebook pixel
- Go to The Facebook pixel.
- Click Get the Pixel.
- Enter a name for your pixel. There’s only one pixel per ad account, so choose a name that represents your business.
- Click Create Pixel.
If you work on your website yourself, click Install Pixel Now.
If someone else works on your website, click Email Pixel Code. Type in that person’s email address and click Send.
Keep in mind there is only one Facebook pixel per account. However, you can add standard events or custom conversions to your pixel to report different conversion events.
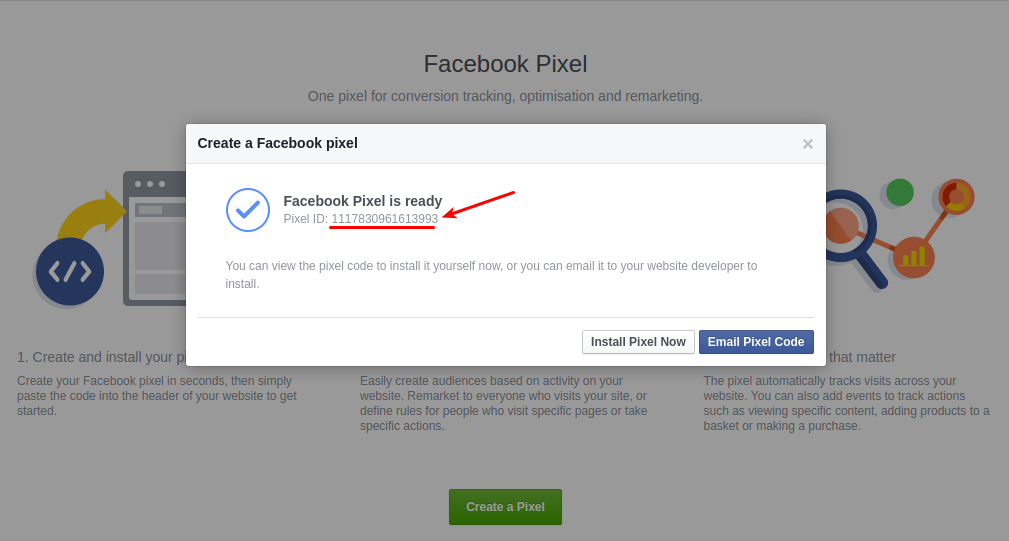
Once you create a Facebook pixel, you will get a Pixel ID that you should specify in the settings of the add-on.
Event statistics
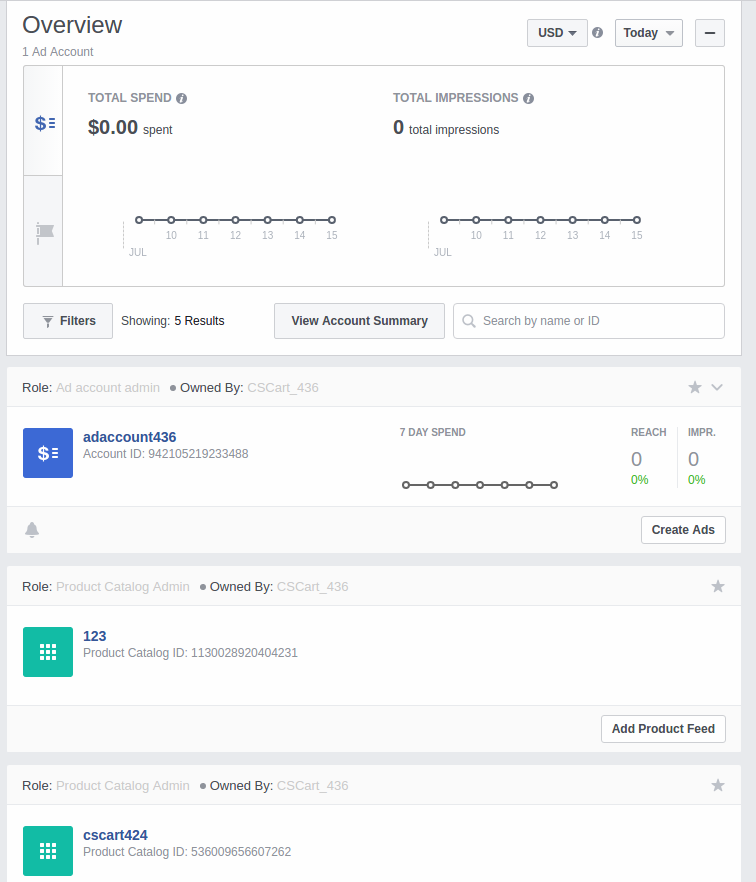
The Facebook Pixel event statistics page can be found in the Ads Manager.
The Facebook Pixel page gives you insight into the traffic on your website. It tells you what pages people are looking at, on which devices they’re viewing your website, and what actions they’re taking (e.g. purchases). Below, we’ll explain each element of the Facebook Pixel page:
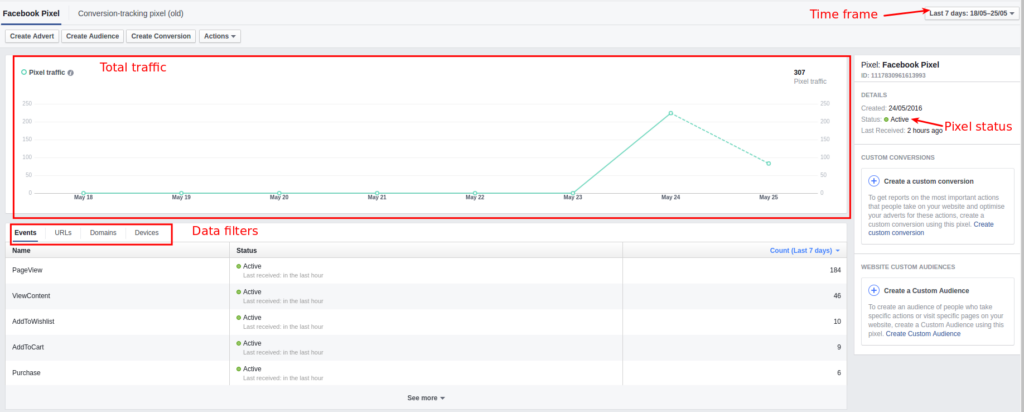
Time frame – you can select the time frame of your data.
Total traffic – see how much traffic there’s been on your website. A dotted line means the data isn’t filled for that day yet. Keep in mind this counts raw pixel fires (every time your page loads), which is different from browser sessions.
Pixel status – make sure your Pixel status is set to the Active status.
Data filters – click these buttons to break down your data by URL, Domain, Device or Event.
Business Manager account
Creating an account and pixel
- Create your new Business Manager account.
- Go to Business Manager settings.
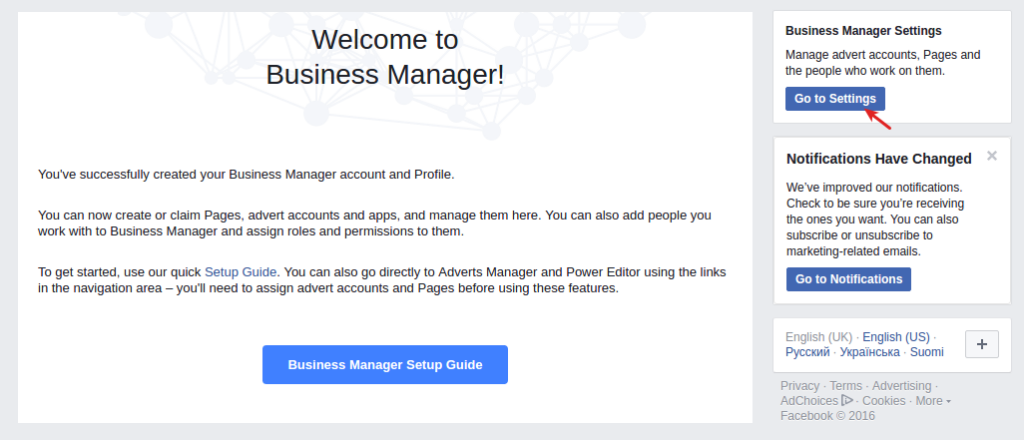
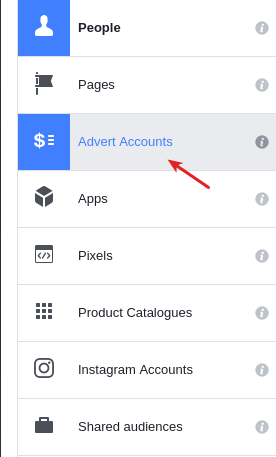
- Navigate to Advert Accounts and create a new Adverts account.
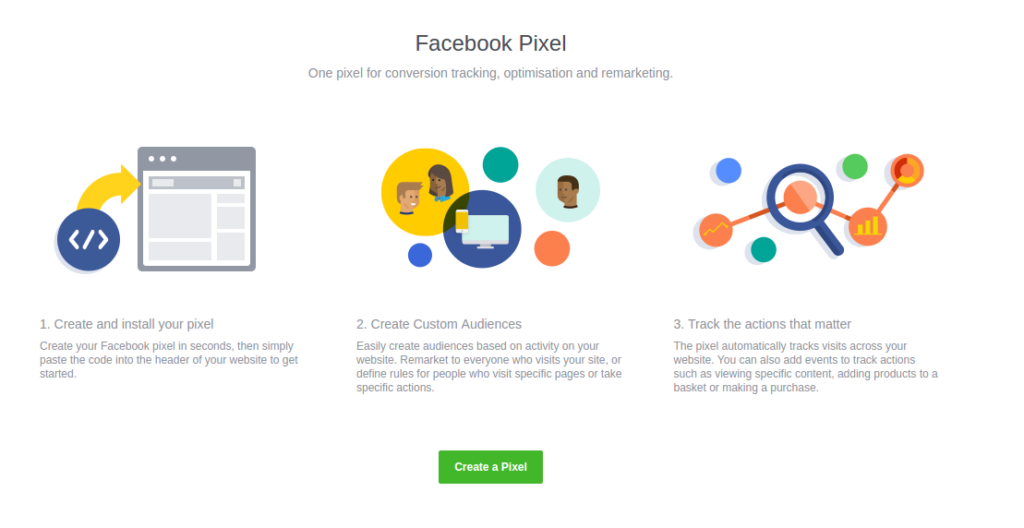
- Create a Facebook pixel.
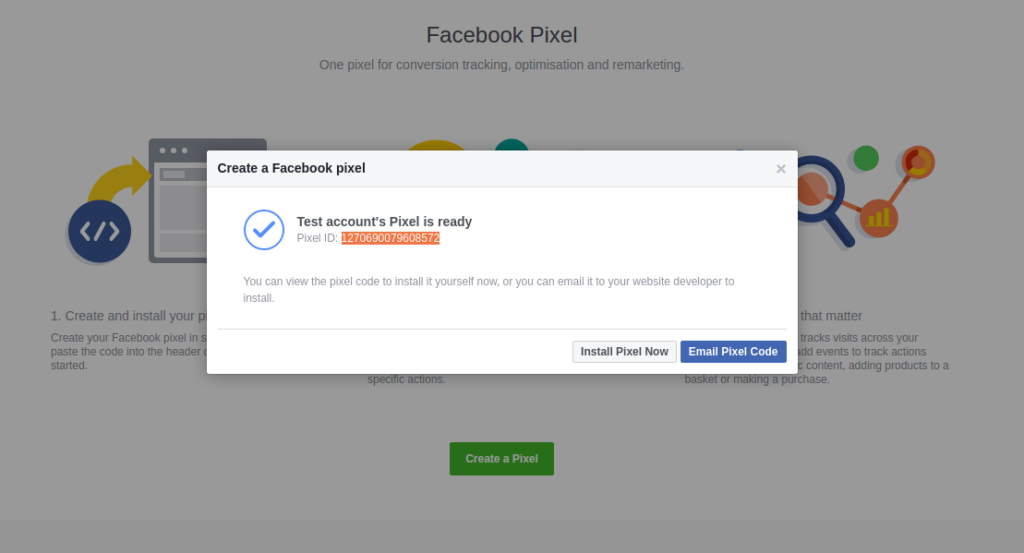
- You will get your Facebook Pixel ID, which you need to specify in the add-on settings.
Exporting data feeds to product catalogues
Make sure that the Data feeds and Google export add-ons are installed in your store.
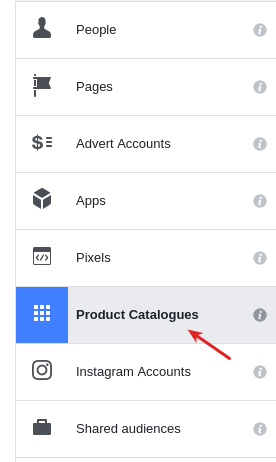
Navigate to Product Catalogues to create a product catalogue.
To add products to the catalogue, first, they should be correctly configured:
- Go to Products – Products and open the necessary product.
- Open the Features tab.
- Specify all Google export features.
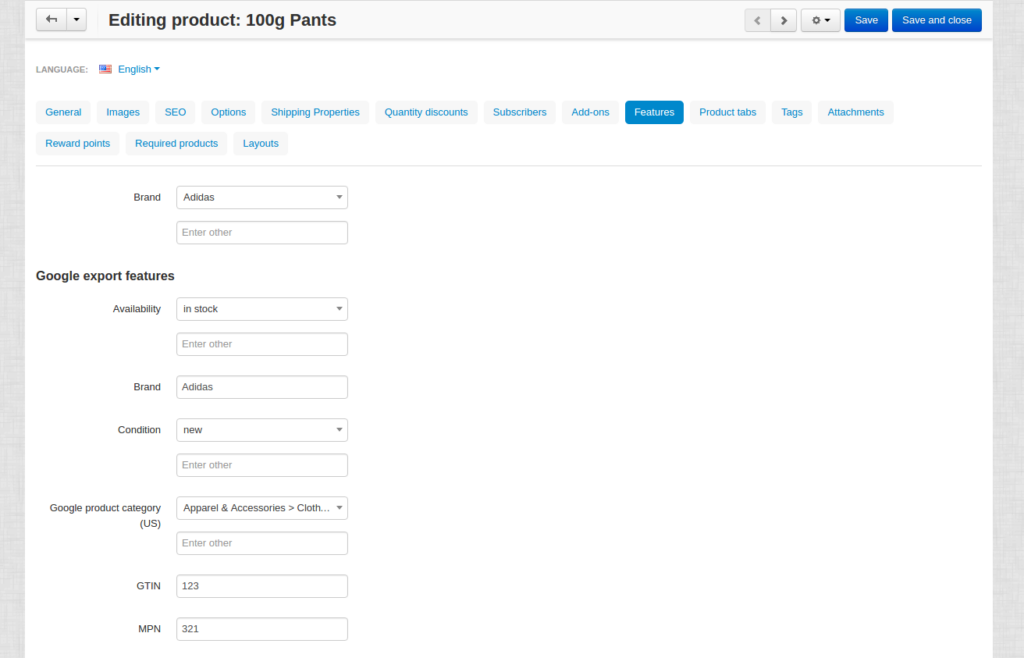
The GTIN and MPN fields should be unique for every product. Learn more about unique product identifiers.
- Repeat this for every product you want to export.
After that, export products:
- Go to Add-ons – Data feeds in the admin panel.
- Select Google base.
- Open the Exported items tab.
- Add products you want to export by clicking the + Add product button. Otherwise all products will be exported.
- Save the changes.
- Click the gear button at the top and select Download.
Data feed will be exported in a csv format.
- Go back to your Business Manager and click on the earlier created catalogue.
- Export the data feed by uploading the csv file.
- Under your Business Manager account
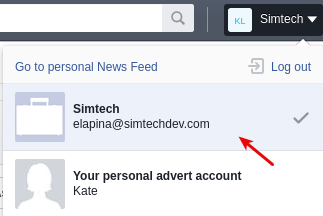
click Associate Sources in the current catalogue.

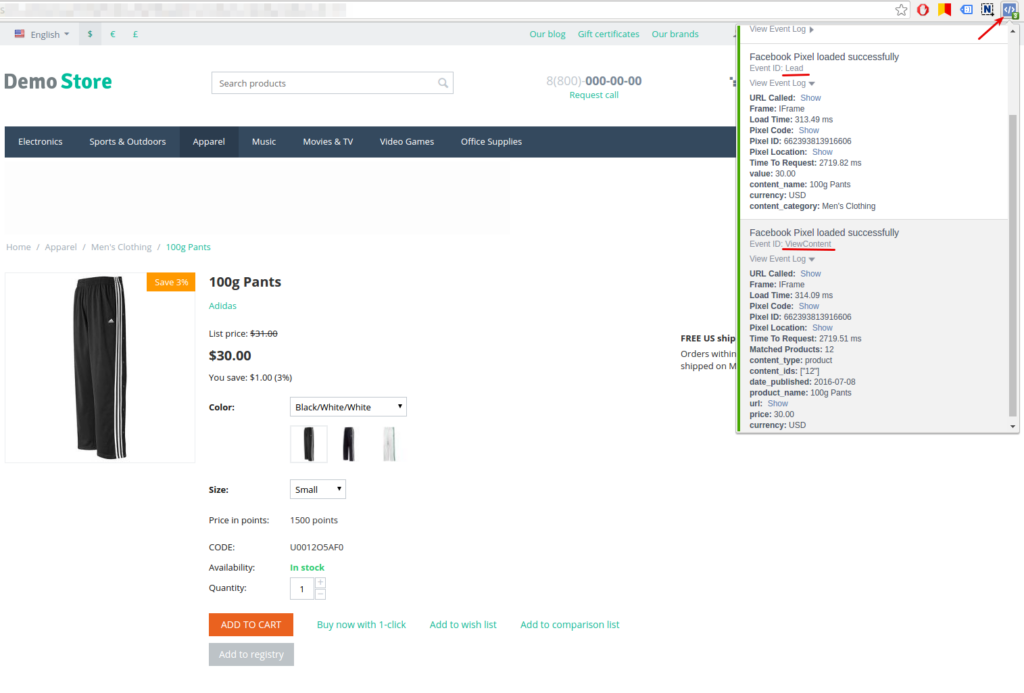
Now additional AddToCart, Purchase, ViewContent events will be tracked for the exported products.
You can check this with Pixel Helper.
You can view statistics here: .
How do I verify if the pixel tracking code is set up correctly?
It is recommended to install the Facebook Pixel Helper extension to your Chrome browser for verifying and diagnostic of whether the Facebook pixel event tracking code is properly inserted in your web site.
If you don’t have it installed yet, please follow the instructions on the Facebook Pixel Helper page to download and install it.